暇なので車のナンバーの珍しいのを調べてた
家の車のナンバー、どう見ても珍しくともなんともない普通の4桁の数字なのですよね・・・なのでいつも車乗ってて、あぁあの車、、、5963だわ・・・お!2525見つけた!とか珍しいナンバー見ると心踊ります。僕も珍しいナンバーの人生だったらと・・・
仕事が休みで暇だったのでどのぐらい自分のような平々凡々なナンバーがあるのかと調べてみた。
調べた際作ったソースは冒頭のギッハブ見てくださいな。
* 1-9 (9件)
いわゆる1桁の数字です。なんか特別感あるやつ。
1, 2, 3, 4, 5, 6, 7, 8, 9
* 九九 (86件)
掛け算になってるやつですね。
212, 224, 236, 248, 313, 326, 339, 414, 428, 515, 616, 717, 818, 919, 2102, 2204, 2306, 2408, 2510, 2612, 2714, 2816, 2918, 3103, 3206, 3309, 3412, 3515, 3618, 3721, 3824, 3927, 4104, 4208, 4312, 4416, 4520, 4624, 4728, 4832, 4936, 5105, 5210, 5315, 5420, 5525, 5630, 5735, 5840, 5945, 6106, 6212, 6318, 6424, 6530, 6636, 6742, 6848, 6954, 7107, 7214, 7321, 7428, 7535, 7642, 7749, 7856, 7963, 8108, 8216, 8324, 8432, 8540, 8648, 8756, 8864, 8972, 9109, 9218, 9327, 9436, 9545, 9654, 9763, 9872, 9981
* 鏡 (90件)
左右で反対で鏡担ってるやつです。
1001, 1111, 1221, 1331, 1441, 1551, 1661, 1771, 1881, 1991, 2002, 2112, 2222, 2332, 2442, 2552, 2662, 2772, 2882, 2992, 3003, 3113, 3223, 3333, 3443, 3553, 3663, 3773, 3883, 3993, 4004, 4114, 4224, 4334, 4444, 4554, 4664, 4774, 4884, 4994, 5005, 5115, 5225, 5335, 5445, 5555, 5665, 5775, 5885, 5995, 6006, 6116, 6226, 6336, 6446, 6556, 6666, 6776, 6886, 6996, 7007, 7117, 7227, 7337, 7447, 7557, 7667, 7777, 7887, 7997, 8008, 8118, 8228, 8338, 8448, 8558, 8668, 8778, 8888, 8998, 9009, 9119, 9229, 9339, 9449, 9559, 9669, 9779, 9889, 9999
* 続き数字 (28件)
123とか456とか数字が続いてるヤツ
123, 210, 234, 321, 345, 432, 456, 543, 567, 654, 678, 765, 789, 876, 987, 1234, 2345, 3210, 3456, 4321, 4567, 5432, 5678, 6543, 6789, 7654, 8765, 9876
* 語呂合わせ (10件)
語呂合わせでできるやつ、下のは意味なし、行くわよ!、ニコニコ、サイコロ・・・
1374, 1984, 2525, 3156, 3470, 3476, 4649, 4989, 5909, 5963
* 左右同じ (90件)
左右が同じ。
1010, 1111, 1212, 1313, 1414, 1515, 1616, 1717, 1818, 1919, 2020, 2121, 2222, 2323, 2424, 2525, 2626, 2727, 2828, 2929, 3030, 3131, 3232, 3333, 3434, 3535, 3636, 3737, 3838, 3939, 4040, 4141, 4242, 4343, 4444, 4545, 4646, 4747, 4848, 4949, 5050, 5151, 5252, 5353, 5454, 5555, 5656, 5757, 5858, 5959, 6060, 6161, 6262, 6363, 6464, 6565, 6666, 6767, 6868, 6969, 7070, 7171, 7272, 7373, 7474, 7575, 7676, 7777, 7878, 7979, 8080, 8181, 8282, 8383, 8484, 8585, 8686, 8787, 8888, 8989, 9090, 9191, 9292, 9393, 9494, 9595, 9696, 9797, 9898, 9999
* ゾロ目 (18件)
同じ数字が続くもの
111, 222, 333, 444, 555, 666, 777, 888, 999, 1111, 2222, 3333, 4444, 5555, 6666, 7777, 8888, 9999
そして平々凡々なナンバーどもはと言うと・・・
9,687件
珍しいナンバーは1割も無いのか・・・特別だぜぇ・・・そして平々凡々ナンバーは9割以上、、、江戸時代の農民レベルにいるな・・・
なにやってんだろ・・・俺・・・
flutter でスプラッシュウインドウを使う(flutter_native_splash)
iOS側だとスプラッシュウインドウは必須みたいなのでこういうのははじめから入れておかないと後で辛くなるのでちょい調べた。未来にまたアプリを作る際の作業メモ。
イチから入れる方法は公式から出てるけど、スプラッシュウインドウのパッケージがあるみたいね。
環境は以下で確認してます。
% flutter --version
Flutter 2.8.1 • channel stable • https://github.com/flutter/flutter.git
Framework • revision 77d935af4d (9 days ago) • 2021-12-16 08:37:33 -0800
Engine • revision 890a5fca2e
Tools • Dart 2.15.1
pubspec.ymlに以下を入れてpub getします。最新バージョンは前述のページで確認してください。2022/01現在、1.3.3。
dev_dependencies:
  flutter_native_splash: ^1.3.3
flutter_native_splash.yaml(スプラッシュウインドウの設定)
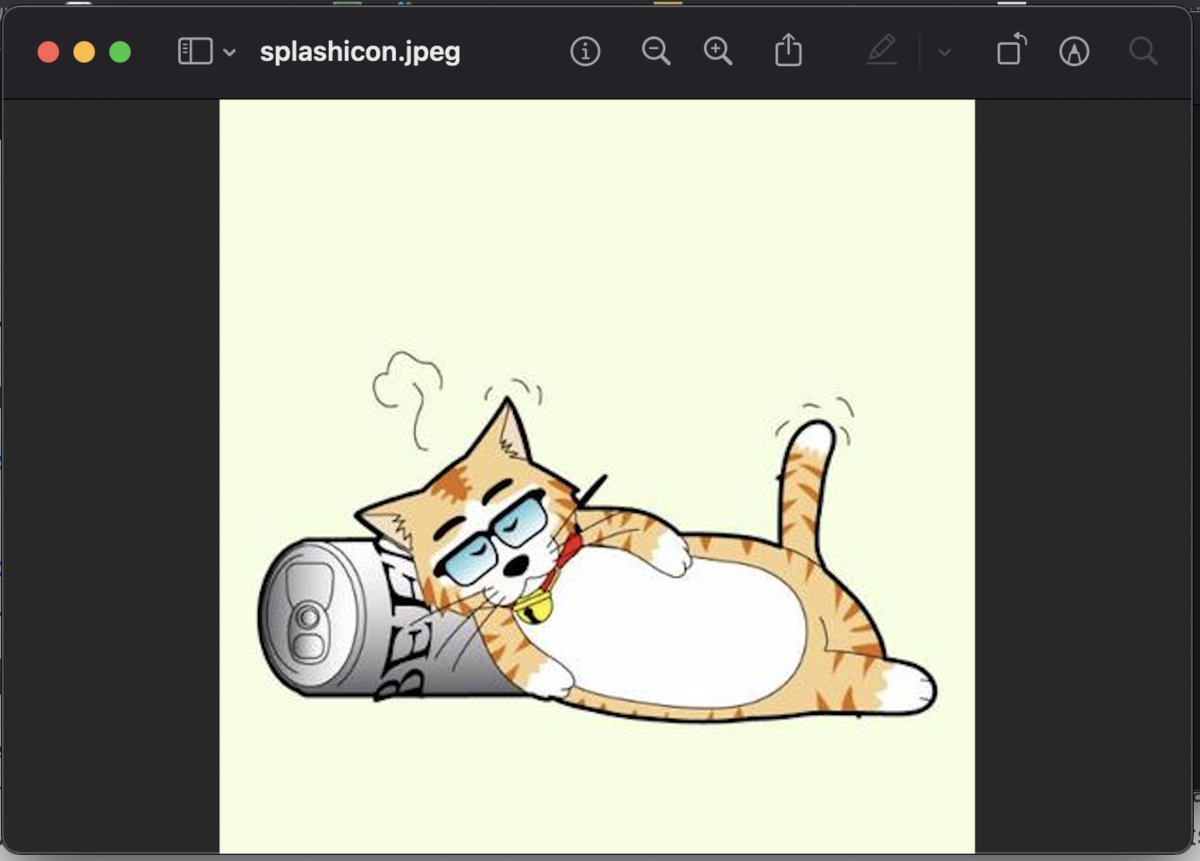
スプラッシュウインドウに表示する画像にこんなものを用意してみました。400*400ピクセルのpngファイルです。これを/assets/splash/splashicon.pngに保存しました。
これをアプリが使えるようにpubspec.ymlに登録します。
  # To add assets to your application, add an assets section, like this:
  assets:
- assets/splash/splashicon.png各種設定はflutter_native_splash.yamlをプロジェクトのルートに作成し色々記載していきます。とりあえず以下の様な内容にしてみました。
flutter_native_splash:
  image: assets/splash/splashicon.png
設定した後以下のコマンドを打つと完了です。
flutter pub run flutter_native_splash:create
以下はコマンドのログです。
% flutter pub run flutter_native_splash:create
[Android] Creating branding images
[Android] Updating launch background(s) with splash image path...
[Android]    - android/app/src/main/res/drawable/launch_background.xml
[Android]    - android/app/src/main/res/drawable-v21/launch_background.xml
[Android] Updating styles...
[Android]    - android/app/src/main/res/values/styles.xml
[iOS] Creating  images
[iOS] Updating LaunchScreen.storyboard with width, and height
[iOS] updating constraints with splash branding
[iOS] Updating ios/Runner/Info.plist for status bar hidden/visible
Web folder not found, skipping web splash update...

Native splash complete. 👍
Now go finish building something awesome! 💪 You rock! 🤘🤩
flutter_native_splash.yaml には以下のようなオプションがあります。
color/ background_image
背景色か背景画像を指定します。いずれかの指定のみです。
  color: "#42a5f5"
  # background_image: xxxxxx
image
スプラッシュウインドウに表示するアイコンです。中央に表示されます。フォーマットはpngオンリーでsized for 4x pixel densityだそうです。sized for 4x pixel densityが分からん・・・
branding/ branding_dark / branding_mode
企業ロゴみたいなものです。例えばimageで中央にアプリのアイコンを大きく表示して画面下に企業ロゴを表示するとか・・・
brandingにimageオプションと同様にイメージファイルへのパスを記載します。branding_darkはiOSのダークモード時に表示するイメージファイルです。いずれも今はimageオプションと同様にpngフォーマットのみ対応しています。
イメージファイルの場所はbranding_modeで指定します。bottom、bottomRight、bottomLeftが指定できます。(指定しないとbottom)
この値はAndroidのandroid_gravityとiOSのios_content_modeとは無関係です。
  branding: assets/brand_dark.png
  branding_dark: assets/brand_dark.png
  branding_mode: bottom
color_dark/ background_image_dark/ image_dark: assets/splash-invert.png
上記color/ background_image、imageで書いたものがスプラッシュウインドウを表示する際に端末がダークモードの場合こちらの値になります。
android/ ios/ web
スプラッシュウインドウを生成するかどうかです。AndroidはたしかGooglePlayでリリースする際スプラッシュウインドウは必須ではないためこれをfalseにするなどでしょうか。
  android: false
  ios: true
  web: false
android_gravity/ ios_content_mode/ web_image_mode
imageで設定した画像をどこに表示するか?を指定します。
android_gravityはbottom, center, center_horizontal, center_vertical, clip_horizontal, clip_vertical, end, fill, fill_horizontal, fill_vertical, left, right, start, or top から指定しますが以下のGravityの値に準拠します。
Gravity | Android Developers
ios_content_modeはscaleToFill, scaleAspectFit, scaleAspectFill, center, top, bottom, left, right, topLeft, topRight, bottomLeft, or bottomRightから指定しますが、以下のiOSのUIView.ContentModeに準拠します。
Apple Developer Documentation
web_image_modeはcenter, contain, stretch, and coverから指定します。特に指定しないと画面中央に表示されるようですね。
fullscreen
trueにすると画面上部にある通知バーも含むフルスクリーンで表示します。
info_plist_files
info.plistの名前を変更した場合、そのファイル名を指定します。iOS系の開発に疎いのでこのファイルを変更できるってことかな?
  info_plist_files:
    - 'ios/Runner/Info-Debug.plist'
    - 'ios/Runner/Info-Release.plist'
flutter_native_splash.yamlを使用しないでの設定
MyApp#build()の変更
readmeページだとflutter_native_splash.yamlに設定を書いて云々とありますが、installページではpubspec.ymlに依存関係書いてあとはパッケージインポートでExampleページではflutter_native_splash.yamlは特に関係ない感じで書いてあります。
flutter_native_splash.yamlで全部設定しても良いですし、コード上で書いてもいいという事でしょうか。例えば自由にスプラッシュウインドウのレイアウトを組んで表示する、などが考えられます。
Flutterプロジェクト作成直後のmain.dartはMyApp#build()でStatefullWidgetのMyHomePageインスタンスを返すようになっていますが、ここでローディング中ならスプラッシュ用のStatelessWidgetを返すように変更します。
以下はFlutterプロジェクト作成直後のmain.dartのMyAppとbuild()とスプラッシュ対応版の比較です。作成直後のMyApp#build()では単純にMaterialAppを返していますが、スプラッシュ対応版はローディング中ならsplash()メソッドを呼び出しスプラッシュ用のStatelessWidgetを返す様になっています。
プロジェクト作成直後ならMyApp#build()全体をコピペでいいみたいです。
import 'package:flutter_native_splash/flutter_native_splash.dart';

...省略
class MyApp extends StatelessWidget {
  const MyApp({Key? key}) : super(key: key);

  @override
  Widget build(BuildContext context) {
    return MaterialApp(
      title: 'Flutter Demo',
      theme: ThemeData(
        primarySwatch: Colors.blue,
      ),
      home: const MyHomePage(title: 'Flutter Demo Home Page'),
    );
  }
}
class MyApp extends StatelessWidget {
const MyApp({Key? key}) : super(key: key);
@override
Widget build(BuildContext context) {
return FutureBuilder(
future: Init.instance.initialize(),
builder: (context, AsyncSnapshot snapshot) {
// Show splash screen while waiting for app resources to load:
if (snapshot.connectionState == ConnectionState.waiting) {
return const MaterialApp(home: Splash());
} else {
// Loading is done, return the app:
return MaterialApp(
title: 'Flutter Demo',
theme: ThemeData(
primarySwatch: Colors.blue,
),
home: const MyHomePage(title: 'Flutter Demo Home Page'),
);
}
},
);
}
}||<
*** 実際のSplashメソッド
以下はExampleページから引っ張ってきたコードですが、Splashウインドウのウィジェット定義部分です。あとはmain.dartの下にこれをコピペします。
自由にレイアウトを組む場合はこのSplash#build()で自由なWidgetを返すようにします。
>||
class Splash extends StatelessWidget {
const Splash({Key? key}) : super(key: key);
@override
Widget build(BuildContext context) {
bool lightMode =
MediaQuery.of(context).platformBrightness == Brightness.light;
return Scaffold(
backgroundColor:
lightMode ? const Color(0xffe1f5fe) : const Color(0xff042a49),
body: Center(
child: lightMode
? Image.asset('assets/splash.png')
: Image.asset('assets/splash_dark.png')),
);
}
}
class Init {
Init._();
static final instance = Init._();
Future initialize() async {
// This is where you can initialize the resources needed by your app while
// the splash screen is displayed. Remove the following example because
// delaying the user experience is a bad design practice!
await Future.delayed(const Duration(seconds: 3));
}
}
flutter pub run flutter_native_splash:createの結果
以下は色々とオプションをガチャガチャ変更してflutter pub runした結果ですがプロジェクト内に色々ファイルが作られたり更新されたりするようですね。という情報でした。
	new file:   android/app/src/main/res/drawable-hdpi/branding.png
	new file:   android/app/src/main/res/drawable-hdpi/splash.png
	new file:   android/app/src/main/res/drawable-mdpi/branding.png
	new file:   android/app/src/main/res/drawable-mdpi/splash.png
	new file:   android/app/src/main/res/drawable-v21/background.png
	modified:   android/app/src/main/res/drawable-v21/launch_background.xml
	new file:   android/app/src/main/res/drawable-xhdpi/branding.png
	new file:   android/app/src/main/res/drawable-xhdpi/splash.png
	new file:   android/app/src/main/res/drawable-xxhdpi/branding.png
	new file:   android/app/src/main/res/drawable-xxhdpi/splash.png
	new file:   android/app/src/main/res/drawable-xxxhdpi/branding.png
	new file:   android/app/src/main/res/drawable-xxxhdpi/splash.png
	new file:   android/app/src/main/res/drawable/background.png
	modified:   android/app/src/main/res/drawable/launch_background.xml
	modified:   android/app/src/main/res/values/styles.xml
	new file:   ios/Runner/Assets.xcassets/BrandingImage.imageset/Contents.json
	new file:   ios/Runner/Assets.xcassets/LaunchBackground.imageset/Contents.json
	new file:   ios/Runner/Assets.xcassets/LaunchBackground.imageset/background.png
	modified:   ios/Runner/Assets.xcassets/LaunchImage.imageset/Contents.json
	modified:   ios/Runner/Assets.xcassets/LaunchImage.imageset/LaunchImage.png
	modified:   ios/Runner/Assets.xcassets/LaunchImage.imageset/LaunchImage@2x.png
	modified:   ios/Runner/Assets.xcassets/LaunchImage.imageset/LaunchImage@3x.png
	modified:   ios/Runner/Base.lproj/LaunchScreen.storyboard
	modified:   ios/Runner/Info.plist
オレが私になるまで、4巻読んだ
Twitterで流れて来てなんの興味を持ったのか面白そうだなと思いコミック版で購入してたんだけどやっと4巻が出たのでブログでメモっておく。とりあえず1巻のリンク
")
なんだっけな?そうだ、昔に主人公のように同じように子供の性別が変わるって奇病をニュースで読んだのでそれを思い出してしまい興味持ったのだ。検索してみたら2015年近辺の記事が引っかかってくる。
症例の名前はゲヴェドース(Guevedoces)といい、ドミニカ共和国の一部の地域では比較的ある症例だそうだ。
12歳ぐらいから男性性器が生えてくるものでテストステロンを阻害する酵素の欠乏によって引き起こされるそうだ。そう聞いてもよくわからない。
記事は漫画と逆で女性から男性への変化だし一晩で変わるようなもんでもない。でもそういう症例があるらしいという事が頭に引っかかってこの漫画に興味を持ったということ。
こういった性別が変わるというジャンルはTSFと呼ばれるものらしく色々あるのですね。
物語はやんちゃ坊主で女の子にも行動が荒い主人公がある日突然、朝起きたらチンコがなくなって女の子になってたという話で、1巻が急激な環境変化に惑わされる主人公、一人の親友の出現で助けられる。親との意見の違いがあるものの祖母や周りの人の理解で環境を受容していく。
タイトルとしては1巻で一旦綺麗に終わってると感じる。女性として生きていくのが示唆される最後で少なくとも2巻以降は男の自分からみて主人公には男を感じられない。男が想像する女の子そのもので心の中の「オレ」が残っているがそれが私になるまでという事だろうか。
後の話は主人公の女の子として昔の自分に罪を感じながら中学生のコミュニティ入っていくさま、思春期の性への違和感を持った同級生の話とか中学生のそういう悩み、いまいち女性としても男としても気持ちを収められない様、コミュニティに受容されながら自分はそれに何も返せない焦り、を描いている。
夏祭りで家に帰ってきた後に心の中で吐露するセリフがとても泣けるね。
まだまだ続くみたいなので楽しみですね。メモメモ・・・
Flutter?Andorid?GeneratedPluginRegistrantで起動できない
Flutterで作っててたまに出る以下のメッセージ。
Running Gradle task 'assembleDebug'...
/path/to/project/appname/build/app/intermediates/javac/debug/classes/io/flutter/plugins/GeneratedPluginRegistrant 2.class: D8: Type io.flutter.plugins.GeneratedPluginRegistrant is defined multiple times:
build配下にあるファイルなのでbuildディレクトリをまるっと削除して再度実行でOK。
何度も出るので怒りで書いた
FlutterでListViewで死ぬ
普通にListView.builderで構築したところこんなエラーがでて画面のListViewが構築できない・・・
RenderBox was not laid out: RenderRepaintBoundary#da13e relayoutBoundary=up2 NEEDS-PAINT
'package:flutter/src/rendering/box.dart':
Failed assertion: line 1927 pos 12: 'hasSize'


Either the assertion indicates an error in the framework itself, or we should provide substantially more information in this error message to help you determine and fix the underlying cause.
In either case, please report this assertion by filing a bug on GitHub:
  https://github.com/flutter/flutter/issues/new?template=2_bug.md
ソースはこんな感じ
    return Scaffold(
      ... 省略
      body: Column(
        children: [
          Container(...省略),
          Container(...省略),
          ListView.builder(
              itemCount: _searchResults.length,
              itemBuilder: (context, index) {
                return Card(
                  child: Padding(
                    child: Text(_searchResults[index].showDate, style: TextStyle(fontSize: 22.0),),
                    padding: EdgeInsets.all(20.0),
                  ),
                );
              }
          ),
        ],
      ),
   );

  }
エラーメッセージの下の方にFlutterでエラーが出てるからイシューたててね💖的なの書いてありギョッとしてたんだけど、あぁ、、イシュー立てるのか・・・めんどくさい・・・と絶望的になってたのですがエラーメッセージ内の「RenderBox was not laid out: RenderRepaintBoundary」で検索すると以下のStackOverflowが・・・
The problem is that you are placing the ListView inside a Column/Row. The text in the exception gives a good explanation of the error.

To avoid the error you need to provide a size to the ListView inside.

I propose you this code that uses an Expanded to inform the horizontal size (maximum available) and the SizedBox (Could be a Container) for the height:
なるほどーーColumの中に直接ListView書くとビューのサイズがわからんので構築できないと・・・さすがStackoverflowさんです。気を取り直して修正してOKでした。
先のソースのListView.builder...の部分をExpanded-SizeBoxのコンテナで囲んでます。
          Expanded(
              child: SizedBox(
                height: 200,
                child: ListView.builder(
                    itemCount: _searchResults.length,
                    itemBuilder: (context, index) {
                      return Card(
                        child: Padding(
                          child: Text(_searchResults[index].showDate, style: TextStyle(fontSize: 22.0),),
                          padding: EdgeInsets.all(20.0),
                        ),
                      );
                    }
                ),
              ),
          ),
件のStackoverflowのエラーの問題は自分のとは別の問題みたいなんだけど、問題解決できました。
ちゃんちゃん
docker install(Mac)
brewでのインストールもあるらしいが普通にインストーラーからやってみる
ここから対象のOSのインストーラーをダウンロードしてダボークリックでインストール。
自分の場合はM1チップなのでMac for Apple Chipをインストール
インストールしたあとにランチパッドからDockerを起動。はじめインストール後になにかウイザードが動くのかと待ってたら何も起きなかったので困った困った。
ターミナルから以下のコマンドでもいいらしい。かっこよくタッターンと起動したい場合はこちら。
% open /Applications/Docker.app
起動するとタイトルバーにクジラのマークが出るのでDockerが起動しましたとなもし。

とりあえずバージョンを表示
% docker --version
Docker version 20.10.11, build dea9396
おーわーりー
home brew インストール
単純に公式サイトのコマンドコピってぺって実行じゃできなかったのでメモ
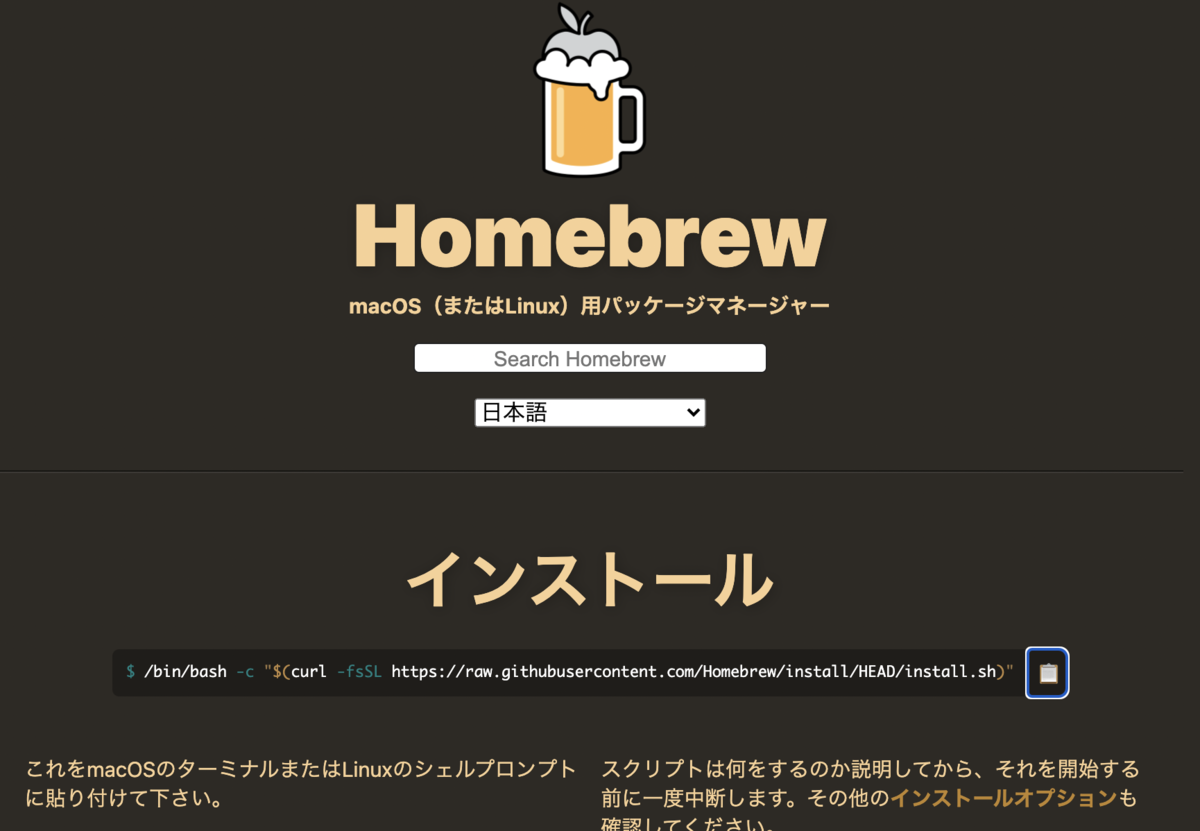
公式サイト
brew.sh
公式サイト表示するとインストールは書いてあるコマンドをコピーして実行すればいいみたい。
実行するとパスワード入力を求められるので入力すると数分で終わります。
じゃぁお前の実力を試してみようか、、とバージョンでも表示してみます。
% brew -v
zsh: command not found: brew
あれ?コマンド無いだと・・・ターミナルをよく見たら書いてあった
==> Next steps:
- Run these two commands in your terminal to add Homebrew to your PATH:
    echo 'eval "$(/opt/homebrew/bin/brew shellenv)"' >> /Users/hosokawashinya/.zprofile
    eval "$(/opt/homebrew/bin/brew shellenv)"
- Run brew help to get started
- Further documentation:
    https://docs.brew.sh
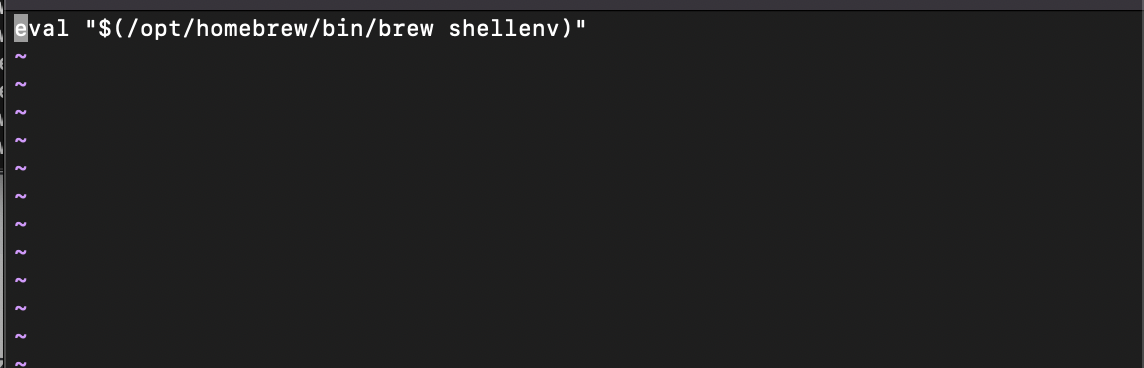
次を実行すればいいらしい
echo 'eval "$(/opt/homebrew/bin/brew shellenv)"' >> /Users/hosokawashinya/.zprofile
eval "$(/opt/homebrew/bin/brew shellenv)"
home brewへのパスを~/.zprofile に書き込むみたいね。以下はvi ~/.zprofile で表示したもの。
気を取り直してバージョン表示
% brew -v
Homebrew 3.3.9
にっこり